How to Change Your WordPress Login Page Logo: A Step-by-Step Guide
WordPress is not give any option to change login screen logo in admin panel. So, We have question how to change login page logo in WordPress? You will find answer here.
There are 2 ways to change logo on login page.
- Using custom code in theme’s functions.php file
- Using Plugin
1. Using custom code in theme’s functions.php file
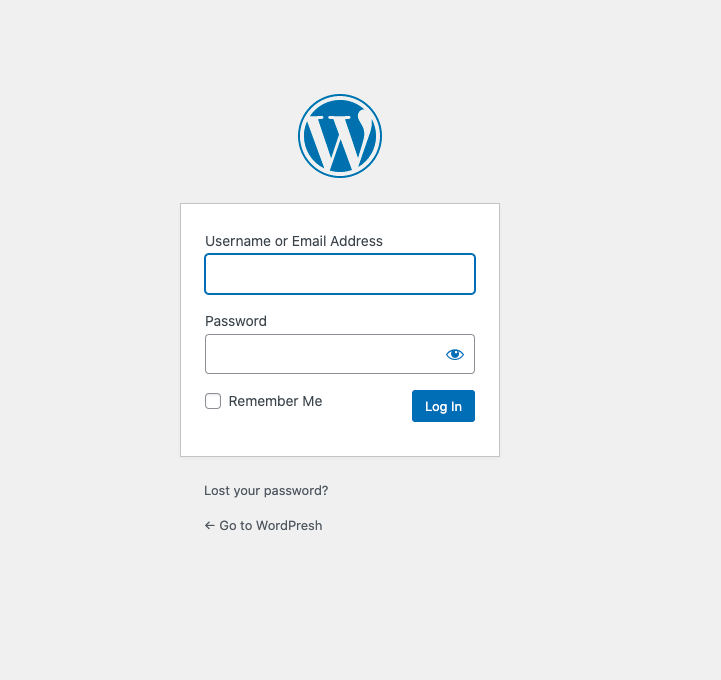
To change the WordPress logo to your own, you will need to change the CSS styles associated with this heading on login page The code of that heading as per below:
<h1><a href="https://wordpress.org/">Powered by WordPress</a></h1>
WordPress uses CSS to display a background image — the WordPress logo — in the link (<a>) inside the heading tag (<h1>). Which we see in above code.
You can use the login_enqueue_scripts hook to insert CSS into the head of the login page so your logo loads instead.
To use the code below, replace the file named site-login-logo.png with the file-name of your logo, and store your logo with your active Theme files in a directory named /images:
function my_new_login_logo() { ?>
    <style type="text/css">
        #login h1 a, .login h1 a {
            background-image: url(<?php echo get_stylesheet_directory_uri(); ?>/images/site-login-logo.png);
		height:60px;
		width:310px;
		background-size: 320px 65px;
		background-repeat: no-repeat;
        	padding-bottom: 30px;
        }
    </style>
<?php }
add_action( 'login_enqueue_scripts', 'my_new_login_logo' );
The size of your logo should be no bigger than 80 x 80 pixels (though even this can change with custom CSS). Adjust the above padding-bottom value to the spacing you want between your logo and the login form.
We can change link on logo and also change logo title. To change the link values so the logo links to your WordPress site, use the following WordPress hooks example; edit it and paste it below the previous in the functions.php:
function my_new_login_logo_url() {
    return home_url();
}
add_filter( 'login_headerurl', 'my_login_logo_url' );

function my_new_login_logo_url_title() {
    return 'Your Site Name OR Info';
}
add_filter( 'login_headertitle', 'my_new_login_logo_url' );
2. Using Plugin
To change the logo on your WordPress login page, you’ll need to install a plugin. There are a variety of plugins available that can help you customize your login page, but one of the most popular and user-friendly options is the Login Designer plugin.
Step 1: Customize Your Login Page
Once you’ve installed the Login Designer plugin, go to the “Login Designer” option in your WordPress dashboard. From here, you can select the “Logo” tab to upload your custom logo and make any other necessary customizations to your login page.
Step 2: Save and Preview Your Changes
Once you’ve made your desired customizations, be sure to save your changes and preview your new login page to make sure everything looks and works the way you want.
Step 3: Update Your Login URL
If you’d like to further customize your login page, you can also change the URL of your login page. This can be done through the same plugin you used to change your logo, or through a plugin specifically designed for customizing your login URL, such as the WPS Hide Login plugin.
By following these simple steps, you can change the logo on your WordPress login page and create a more personalized and branded experience for your website’s visitors. Whether you’re a beginner or an experienced WordPress user, this guide will help you get the job done quickly and easily